
The Easter Egg Project
This project came about when I was wandering through Hobby Lobby one day. Their 'ready made' decorations were great but still a bit more than I wanted to spend; even at 30% off. So I picked up some paper mache eggs and some wooden candlesticks and decided to throw it all together. What resulted was a super cute project that I'm VERY excited to display this coming month for the Easter holiday!
Here are the directions on how to make your own:

Starting off we'll be doing the Mod Podge'ing.... I used these three paper mache eggs, matte finish Mod Podge, a foam sponge applicator and a whole lovely pile of fabric scraps - most are leftover from my bunting that I sell in my Etsy shop (Pursewna Etsy Shop). I use Charm Squares for the garland so the resulting scraps are PERFECT for this project! Any fabric scraps you have lying around would work great though! You could also use scrapbooking paper or wrapping paper - get creative!


Using scissors - cut your scraps down into workable sized pieces

Get your Mod Podge all ready to go and go for it!
(a holiday themed paper plate makes a GREAT palette!)

Coat a good sized area of the egg with Mod Podge, then adhere a scrap of fabric

Be sure to immediately put another coat of MP over this scrap since you'll most likely be layering another scrap of fabric over it at some point.... keep layering and MP'ing until you eventually have the entire egg covered!

Note: this brush did NOT work well! Bristles started sticking to my egg so I quickly switched it out for the foam applicator - worked MUCH better....

This is a VERY messy project! It helps to have a wet/damp washcloth or rag nearby so you can wipe your fingers occassionally - I found my fingers sticking to the egg/fabric at different points....

See what I mean? MESSY!!!!

One egg down, two to go! (I used paper cups to set the eggs in to dry....)

Egg #2 coming along well!

Two eggs down, one to go!

The BIG egg!!

You can see the three eggs in varying forms of 'dryness' - the egg on the left I did first, egg in the middle second and obviously the large egg last - see how it looks the glossiest? (is that a word even? sorry!)

3. Paint your candlesticks! I used a bunch of different 'Springy' colors of craft paint... whatever I had on hand in my craft closet/cupboard. Don't look too close at my paint job - it's not perfect but homemade generally isn't, right? (That's what I tell myself at least....)
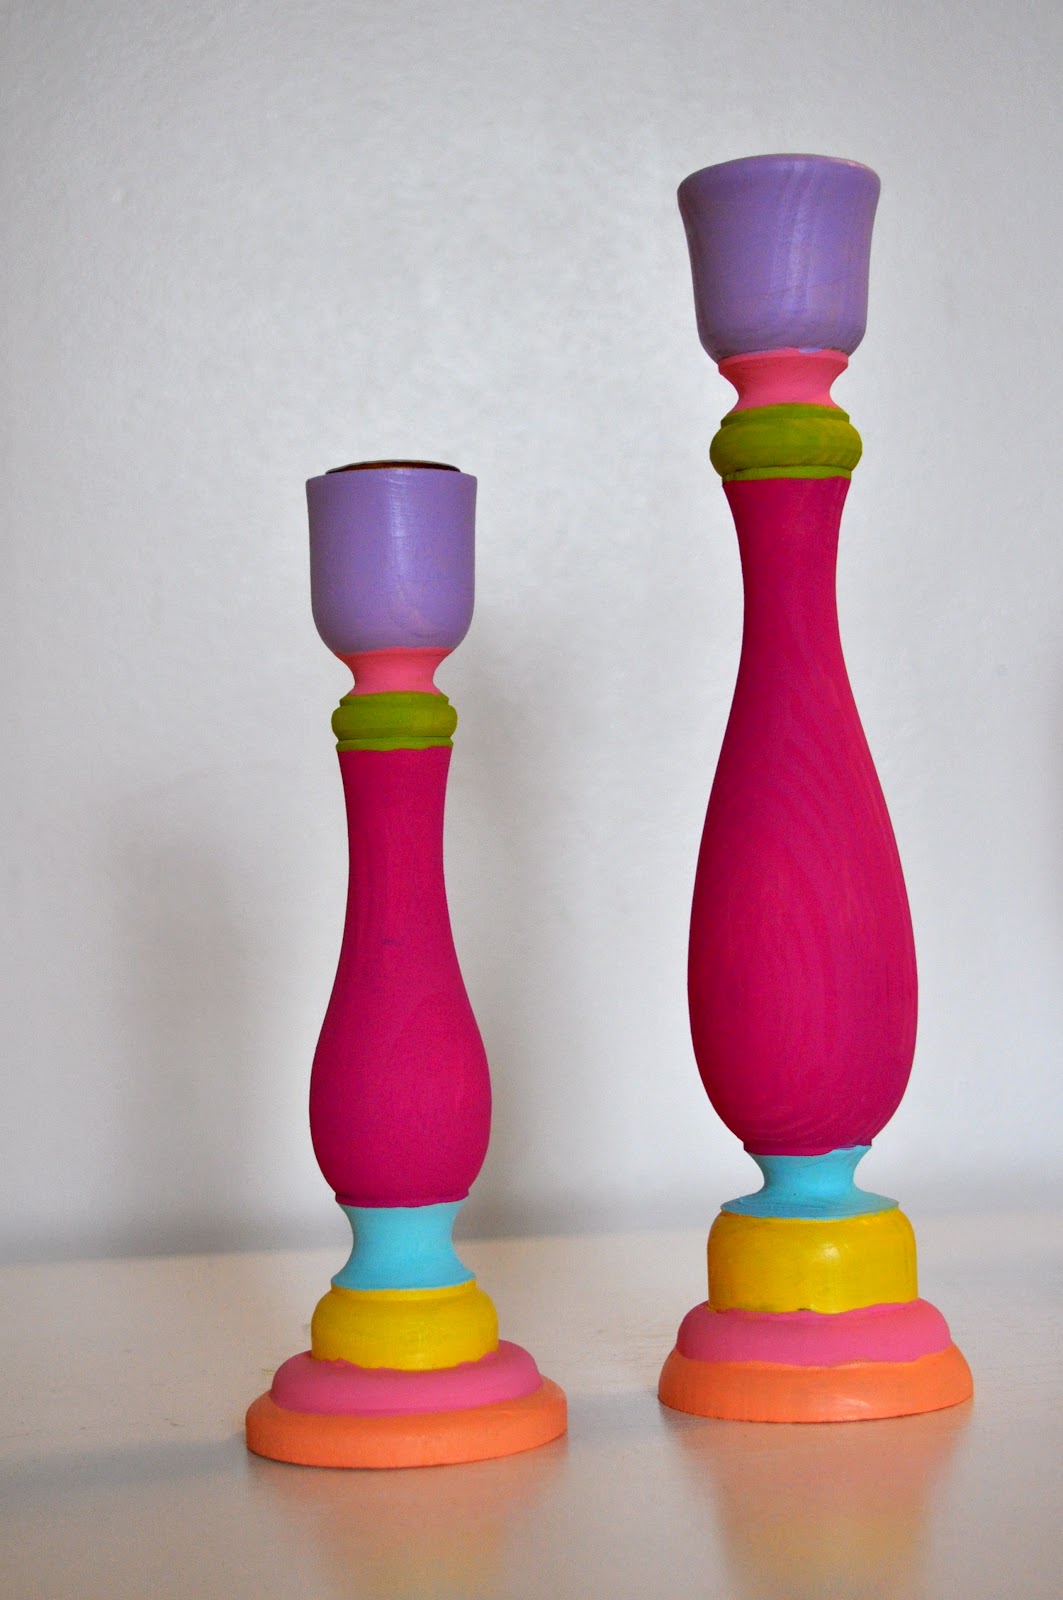
All finished and looking snazzy!

4. Embellish to your heart's content! I grabbed some different sized ric rack, ribbon and my trusty hot glue gun. That pink mat? It's part of this AWESOME glue gun kit that I bought on Etsy! It has saved my fingers from LOTS of burns lately! Check them out: (link)

Start embellishing!

I would figure out a starting point, put a spot of glue down then add the ric rack/ribbon and 'roll' the egg towards me onto the ric rack/ribbon - seen in the pic here:


then finish off at your starting point with another spot of glue
and cut the embellishment as close to that spot as you can....

Again - not perfect but this part will be at the back of your egg so not too important!


Next - add a ribbon of glue around the top of the candlestick
(I put mine on the metal insert where the candle normally goes in)

As carefully as possible, stick your finished egg onto the glue/candlestick - try to keep it straight!

The first time I did this I noticed how messy the glue then looked, so I added some ribbon to hide this area. Just add MORE glue around the base of the egg/top of the candlestick and wind a length of ribbon around it - as seen here:


The finished project! I think these are going to look GREAT on my mantle alongside some wooden birdhouses I painted and my other Easter decorations. I'll be sure to post all of my decor soon!
I'll be linking this tutorial up to:


Great project- just my style! Visiting from Home Stories A to Z.
ReplyDeleteHope you'll share it at my party. It is a linked linky party, so post once and your project appears on 4 great blogs! Stop by- the party goes live on Monday at 9pm each week.
I know your eggs will be a hit! :) Samantha
craftytexasgirls.com
These are so cute - love all the colour. I just finished some Modge Podge eggs using sheet music - they need to be staged and then I'll reveal them later today. Mine look so dull and boring against the brightness of yours. Very springy!!
ReplyDelete